See the disclosure policy for details.
Description
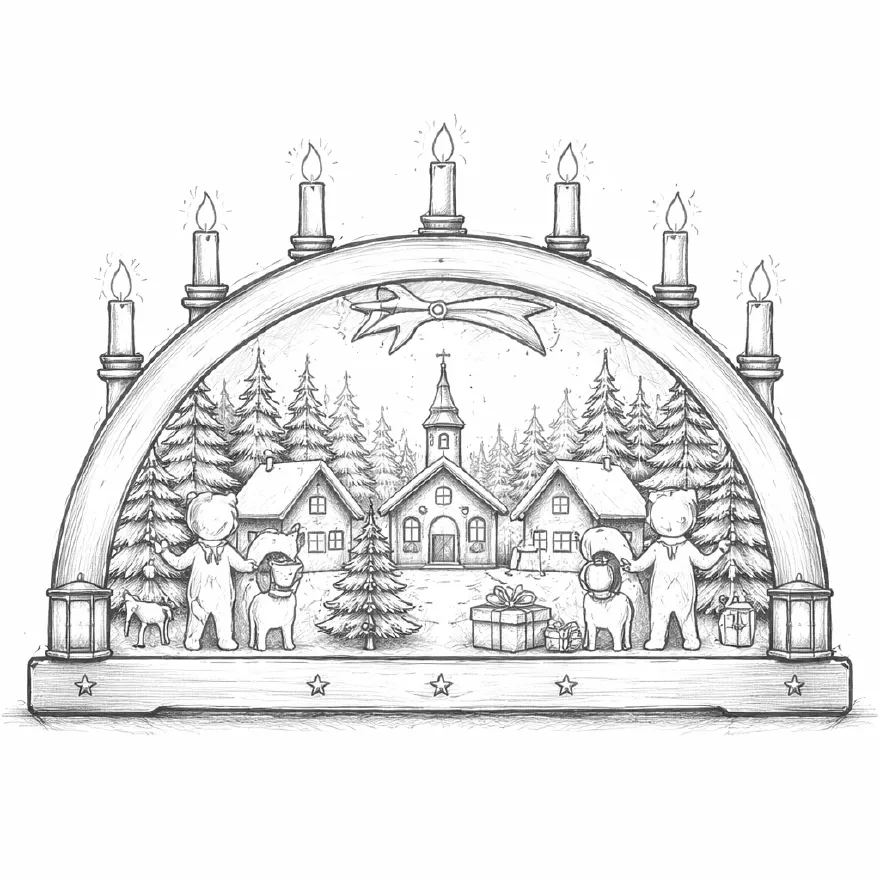
The so-called Schwibbogen (candle arch) is a common Christmas decoration in German windows and originated in the Erzgebirge in the 17th century.[1] While today’s Schwibbogen are almost exclusively made of wood, their predecessors were made of metal. This DIY tutorial shows you how to make your own Schwibbogen.
Bill of materials 3 items
| # | Article | Qty | Approx. price |
|---|---|---|---|
| 01 | Pegboard | 1 | 5 EUR |
| 02 | Screws | 4 | 0.20 EUR |
| 03 | LED string lights | 1 | 20 EUR |
| Total | ≈ 25.20 EUR |
Instructions
Vorlagen: Hier ist die Kreativität gefragt. Als Genre ist so ziemlich alles denkbar – sei es eine Band, Filmereihe oder einfach ein Rosenbogen. In unserem Beispiel machen wir das ganze in einem Rosensetting. Der Rest passiert einfach beim Machen. Man sollte sich laufend überlegen wie viel “Tiefe” haben soll. Damit ist gemeint, dass der Bogen verschieden Lagen haben wird. Darauf basierend wird dann die gesamte Komposition etc. geplant.
Die Motive lassen sich entweder über Plattformen mit lizenfreien Vorlagen ober mit KI-Bild-Generatoren generieren. Beim Prompting sollte darauf geachtet werden, dass die Bilder bereits
Tipps für Inkscape:
Cutting the Frame: Once you’ve decided on a shape, you can start on the structure that will hold the tiles in place. A frame made of MDF panels is suitable for this. While they don’t look particularly impressive, they won’t be visible in the finished project anyway, are very inexpensive, and easy to work with.
Either you have the panels cut to size beforehand, or you have suitable tools such as a circular saw. When determining the dimensions, the thickness of the MDF panels must be taken into account. If you don’t regularly work on woodworking projects and therefore don’t have any scrap wood lying around, it also makes sense to buy four sacrificial boards. These protect the structure from marks left by the clamps during gluing and also distribute the force more evenly across the entire frame.
Example calculation for a cube:
Desired side length D = 200 mm and material thickness T = 10 mm result in
- Side length 1: D, Side length 2: D, Quantity: 2 pieces
- Side length 1: D, Side length 2: D-T, Quantity: 2 pieces
- Side length 1: D-T, Side length 2: D-T, Quantity: 2 pieces
Gluing the frame: It is recommended to practice the assembly “dry” before gluing to avoid confusion during the actual gluing process.[2] Then, lightly coat the corresponding edges with wood glue, either using the tube or a brush. Once everything is in the desired position, take the two sacrificial plates to secure one side, position them appropriately on the left and right sides, and tighten them with a clamp or similar tool. Now wait until the glue sets. Depending on the amount of glue used and the size of the assembly, this can take up to an hour.
Finishing Steps: If a side panel warps slightly during gluing and a bit of wood protrudes at a corner or edge – no problem. MDF is very easy to sand. Therefore, use sandpaper or a sander to smooth all sides and remove any significant unevenness.
Tile Installation: Now the tiles can be glued to the base frame using the adhesive. Depending on the adhesive’s viscosity, start with a small amount and cover as much of the surface as possible. Then align the ceramic tiles at one edge and press firmly into place. Depending on the type of adhesive, wait until it has completely hardened.
Sealing the Joints: Finally, mix a suitable grout according to the package instructions in a container and carefully apply it by hand. Use a sponge to coat the entire tiled surface, ensuring all joints are well filled. While still wet, use a large, damp sponge to remove any excess grout from the tiles and return it to the container. Repeat this process for all sides. Then let it harden.
Done!
References
- Wikipedia contributors, "Schwibbogen", 2024. [Online]. Available: https://en.wikipedia.org/wiki/Schwibbogen.
- R. Fischer, "Holzleim richtig verarbeiten", Holzwerken, 2020. [Online]. Available: https://www.holzwerken.de.